
February 3, 2026 · 1 min read
Creating a Cinematic Intro for Real Estate Vlogs
How to attract high-end buyers with professional 3D aerial property transitions.
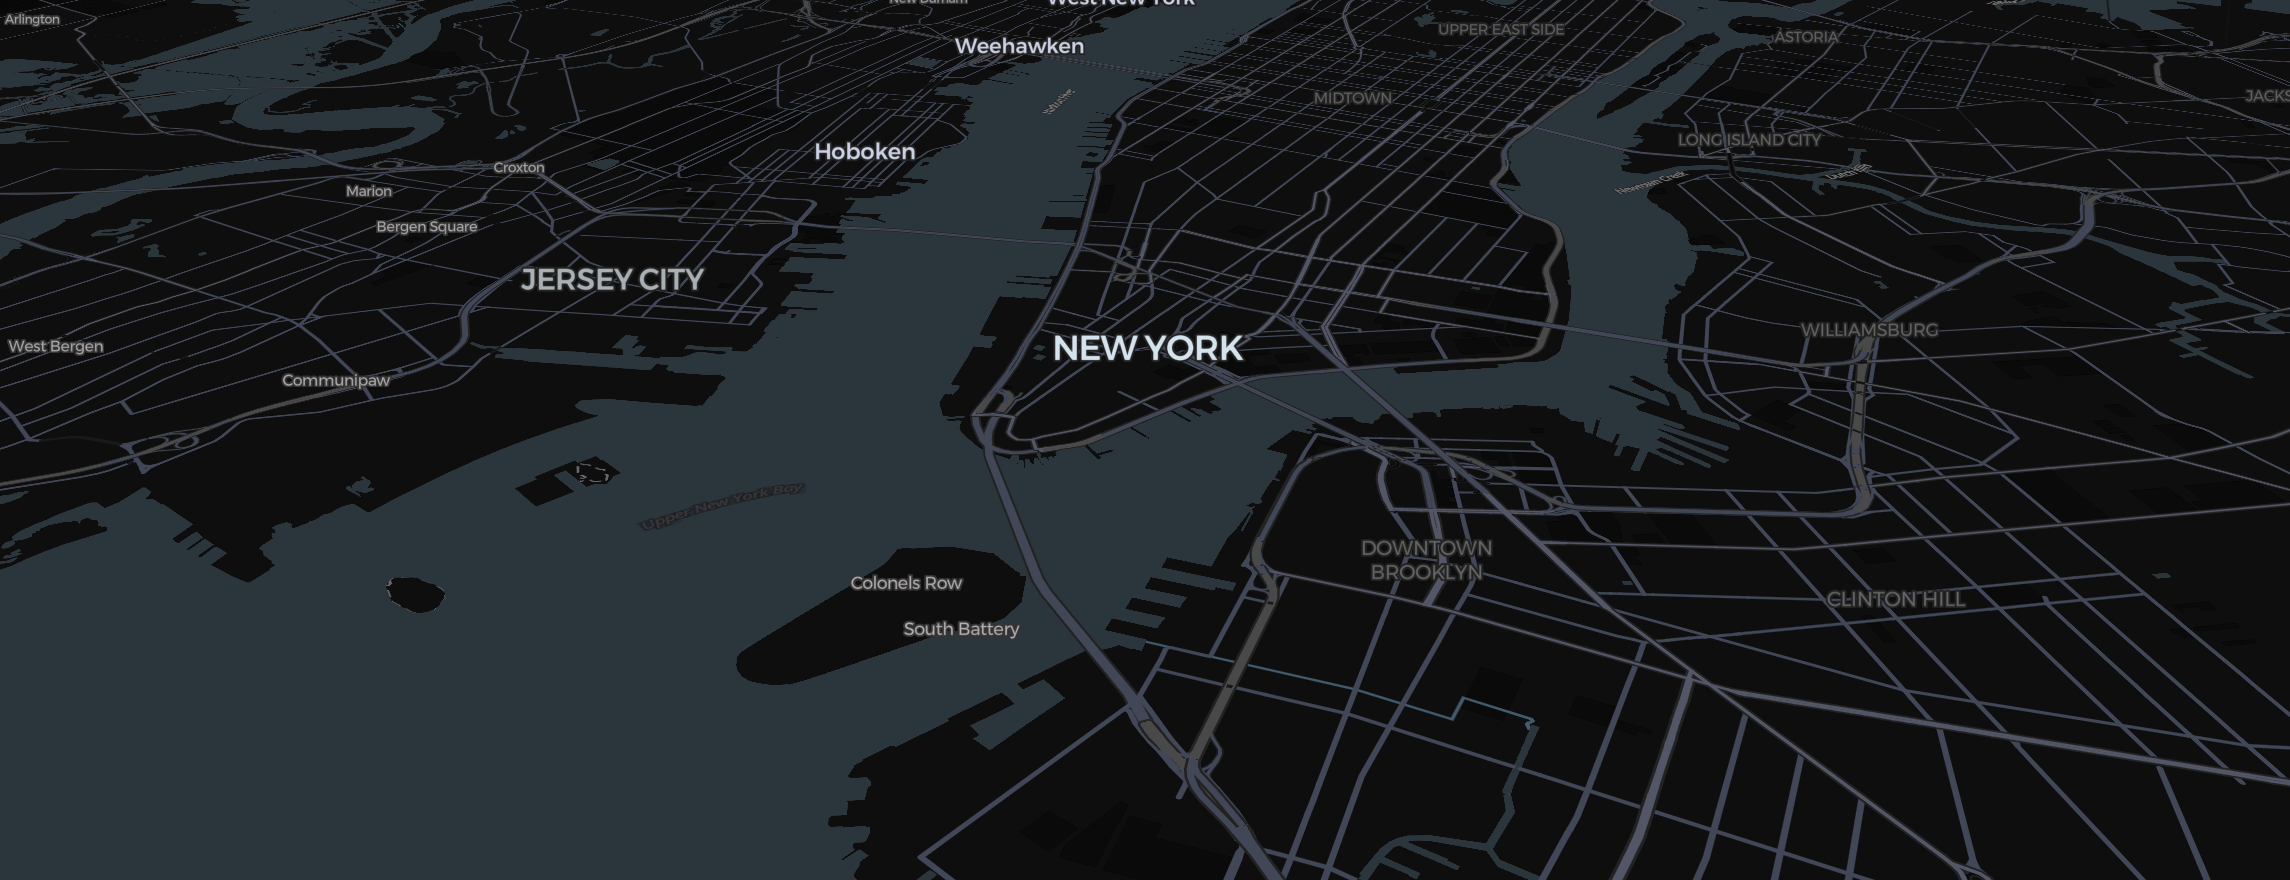
The first 10 seconds of a real estate video determine if a viewer stays or scrolls. A cinematic map intro that zooms from the "big picture" of the city down to the specific neighborhood sets a professional tone that images can't match.
Step 1: The "Satellite Zoom"
For high-end properties, use the Satellite map style.
- Slide 1: Zoom out to a 10km view of the city center.
- Slide 2: Zoom in to the local neighborhood.
- Set the Easing to Late Brake. This creates a dramatic "arrival" feel, as if a private jet is landing at the property.
Step 2: Highlighting Neighborhood Assets
Don't just show the house. Use the Shape tool (Circle) or the Region tool (how it works) to highlight nearby parks, schools, or the walk to downtown.
- Give these highlights a soft Green or Blue color with 40% opacity.
- Add text elements to label these amenities. This provides value to the buyer at a glance.
Step 3: Vertical Framing
Since most real estate content is consumed on phones, switch the preview to Mobile (9:16) in the storyboard bar; you can also pick the aspect ratio in the export dialog.
- Ensure your location pins stay in the center of the vertical frame.
- Use Smooth Easing for all transitions to maintain a "luxury" feel.
The Final Render
Real estate needs to be sharp. Export at 60 FPS (a Pro option; free exports are 480p at 30 FPS with a small watermark) and let the export's map prewarming step finish. This ensures every tree and poolside in the neighborhood is rendered in crisp, high-definition detail.
With Mapimator, you’re not just selling a house; you’re selling a location.