
January 12, 2026 · 1 min read
How to Use Images as Map Pins for Branding
Take your maps to the next level by uploading custom logos, photos, and icons as coordinate markers.
By Mapimator Editorial#Design#Branding#Tutorial
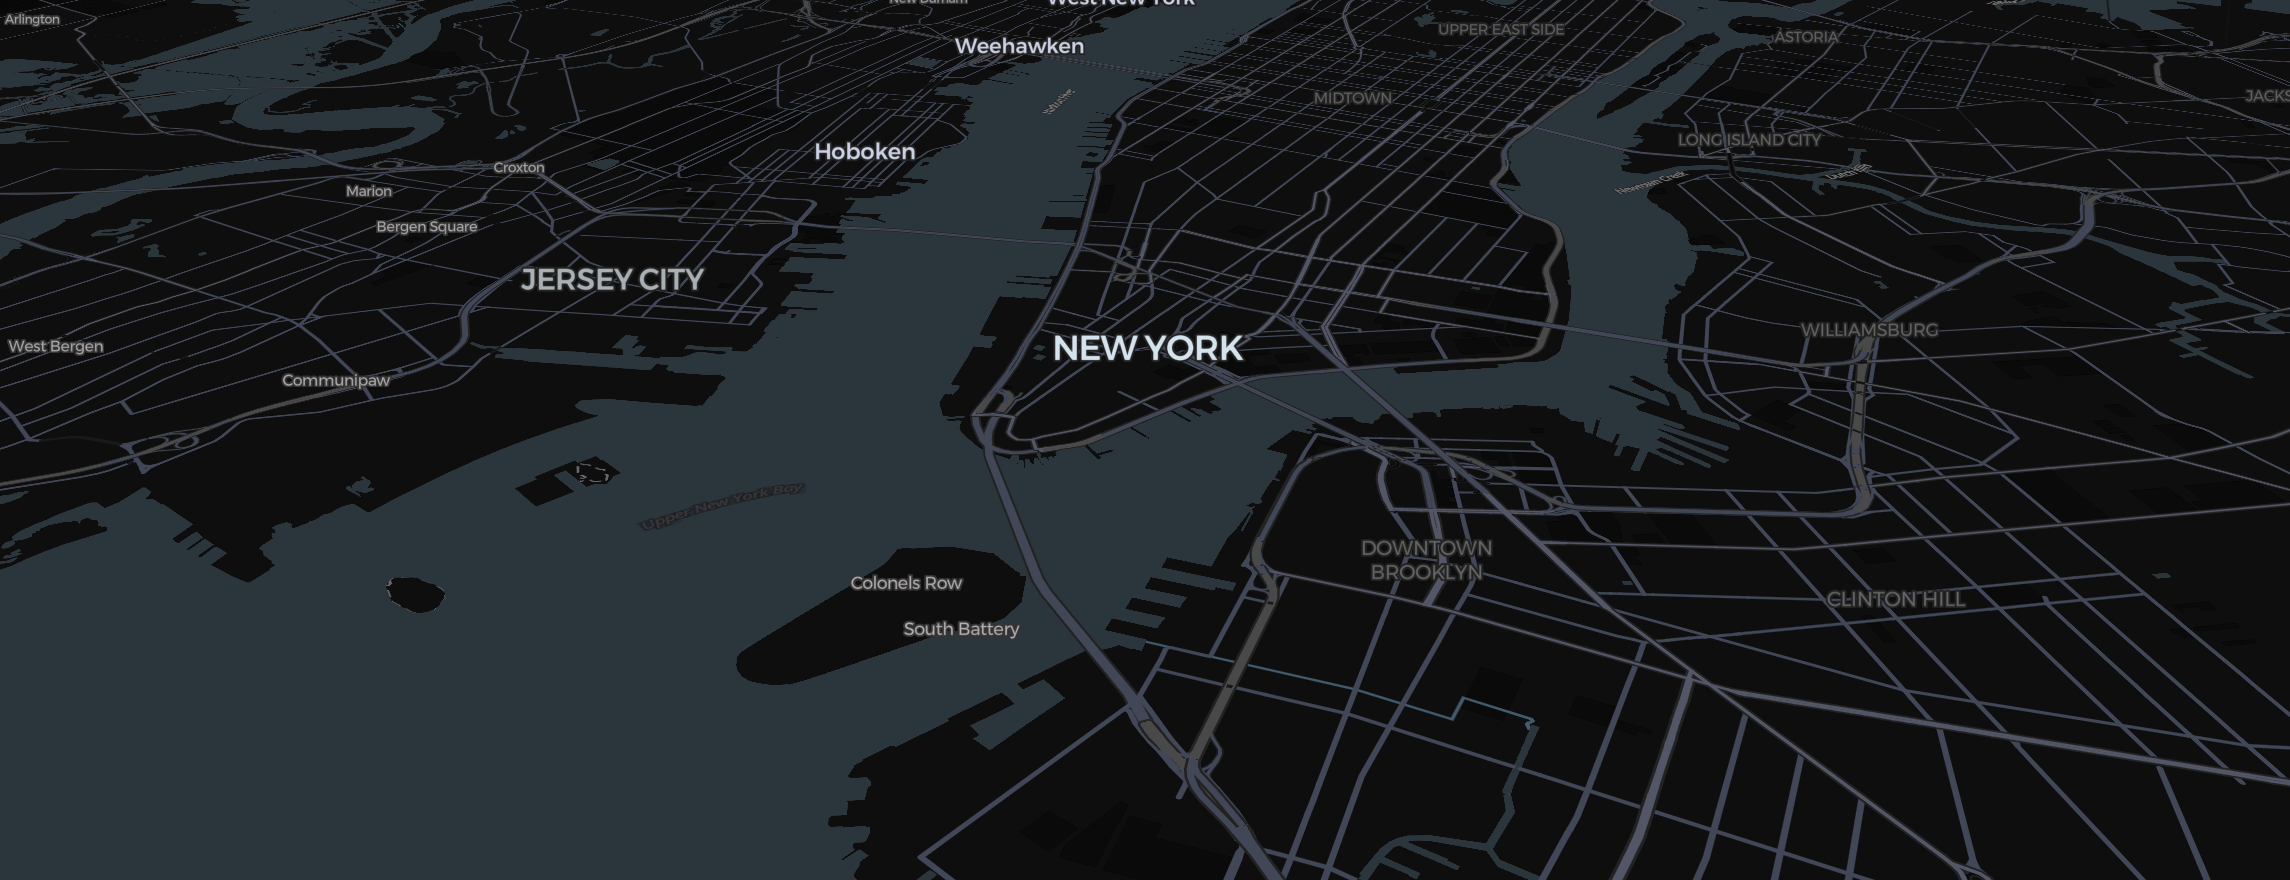
A standard Pin is great for utility, but if you want your map to feel like part of your brand, you need custom icons. The Image tool allows you to place any PNG, JPG or GIF directly onto map coordinates.
Preparing Your Assets
For the best result on a 3D map:
- Use PNGs: Ensure your image has a transparent background.
- Scale Matters: A 512x512px image is plenty. Anything larger will increase your export prewarming time.
- Square is King: Most map icons look best when they are roughly 1:1 in aspect ratio.
Placing Your Icon
- Click Image in the toolbar.
- Upload your file.
- Click on the map to place it.
- Use the element panel to adjust its size.
Use Cases for Image Pins
- Real Estate: Put a portrait of the lead agent over the listing for a personal touch aerial tour.
- Travel Stories: Instead of a dot, use a miniature photo of the landmark (like the Eiffel Tower) for cinematic flights.
- Corporate Footprint: Place your brand logo over every branch location.
Precision Positioning
If your image feels "floating," try pitching the camera (Right Click + Drag). If the image has an alignment option in the element panel, switch between Center and Bottom to ensure the icon sits perfectly on the 3D ground.
To ensure your custom logos are crisp and readable in the final MP4, always let the export's map prewarming step finish after you hit Export!