
February 1, 2026 · 1 min read
Creating Cinematic Flights: From Tokyo to Kyoto in 3D
A step-by-step guide to building a professional travel transition using flight paths and location pins.
By Mapimator Editorial#Tutorial#Japan#Travel
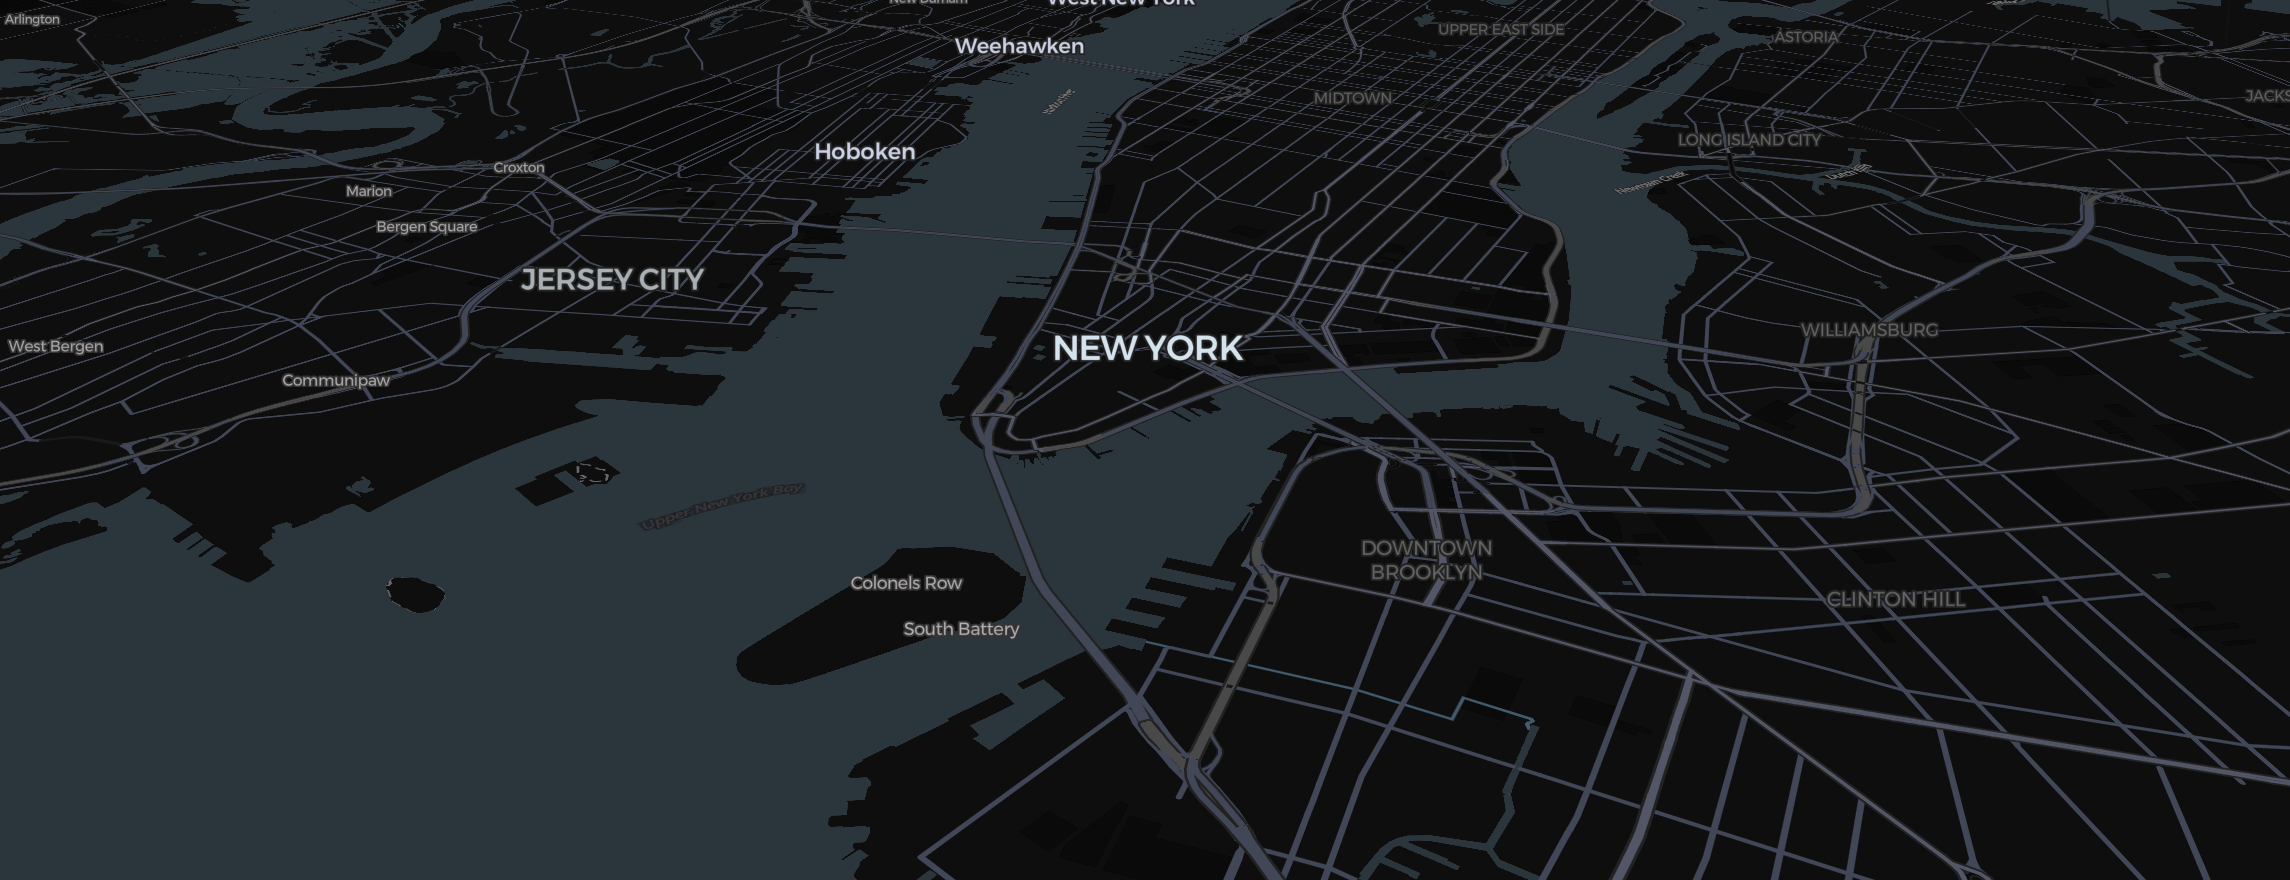
Japan is one of the most popular settings for map animations due to its unique geography and iconic city layouts. In this tutorial, we’ll build a cinematic "Flight" animation from Tokyo to Kyoto.
Step 1: Set Your Projection
For a flight animation that covers several hundred kilometers, you want depth.
- Hover the map style tile at the bottom left and choose Globe under View.
- Switch the Map Type to Satellite and turn on 3D Terrain under View. This makes the mountainous terrain between Tokyo and Kyoto look stunning when the camera tilts.
Step 2: Plot the Flight Path
- Click Route in the toolbar.
- Click Tokyo, then Kyoto (or search each place) to set the start and end points.
- In the element panel (Style tab), set Transport Mode to Flight. This automatically calculates a "Geodesic" curve that arcs high above the Japanese Alps.
Step 3: Scene Prep
- Slide 1: Position Tokyo in the bottom center. Click Add Slide (+).
- Slide 2: Move to Kyoto. Tilt the camera (Right Click + Drag) to see the skyline. Click Add Slide (+).
- Add a Pin at both locations. Set the pin style to Dot for a minimalist, modern look.
Step 4: Easing for Realism
Set the transition to Smooth. This ensures your "plane" takes off gracefully and lands gently. For a "flyover" feel, check out our guide on Travel Vlog Hacks.
Finally, let the export's map prewarming step finish so all the 3D structures in Tokyo are fully loaded!