
January 19, 2026 · 1 min read
How to Map Ship Travel Routes in 3D
Visualizing maritime journeys, from sailing the San Juan Islands to tracking global shipping lanes.
By Mapimator Editorial#Travel#Logistics#Tutorial
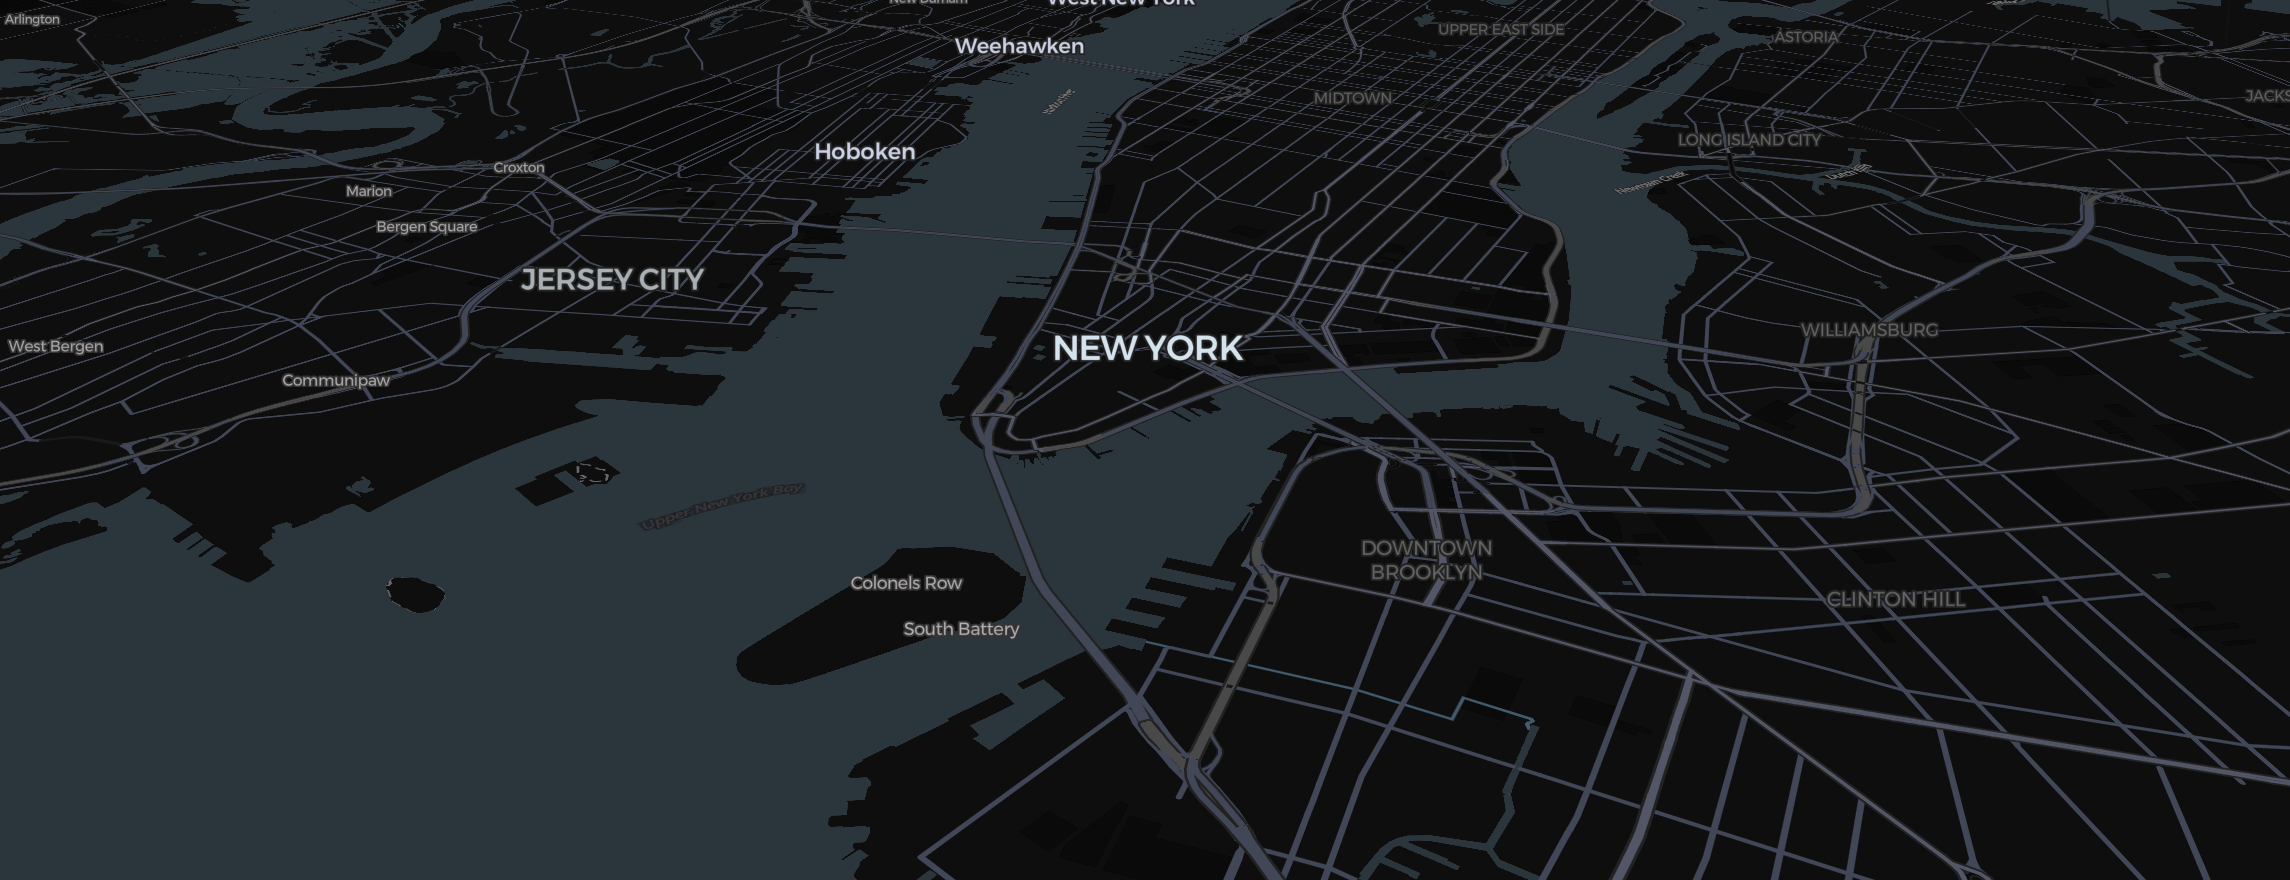
From expedition rowing to global yachting, maritime travel offers some of the most beautiful vistas for map animation. However, ships don't follow roads, and they don't fly in high arcs. Here is how to handle maritime paths in the Studio.
Choosing the Right Line
A ship's path needs to stay on the water.
- Click Route in the toolbar and set the transport mode to Direct. This allows you to place waypoints manually along the coast or through a strait (like the Suez Canal).
- If you're navigating around islands, add multiple "Slides" to your Storyboard and place a short route segment for each.
Visualizing the Water
Water looks best in the Satellite map type.
- 3D Depth: Turn on 3D Terrain under View and tilt the map for a sense of relief along the coast.
- Labels: Turn off unnecessary land labels with the Labels switches in the map controls to keep the viewer focused on the maritime path.
Animating the "Wake"
Use the Draw animation on your route. This creates a "trail" behind your ship as it moves.
- Dashed Lines: For a technical "Naval Chart" look, use dashed lines.
- Markers: Replace the standard pin with a custom Image of a ship or boat for a unique aesthetic.
Whether you're documenting a personal cruise or a business shipping lane, Mapimator’s 3D engine ensures your ocean story is as deep and detailed as the sea itself.