
January 22, 2026 · 1 min read
How to Create GTA-Style Travel Maps
Learn how to replicate the iconic top-down, glowing route animation seen in high-end gaming and travel reels.
By Mapimator Editorial#Gaming#Creative#Tutorial
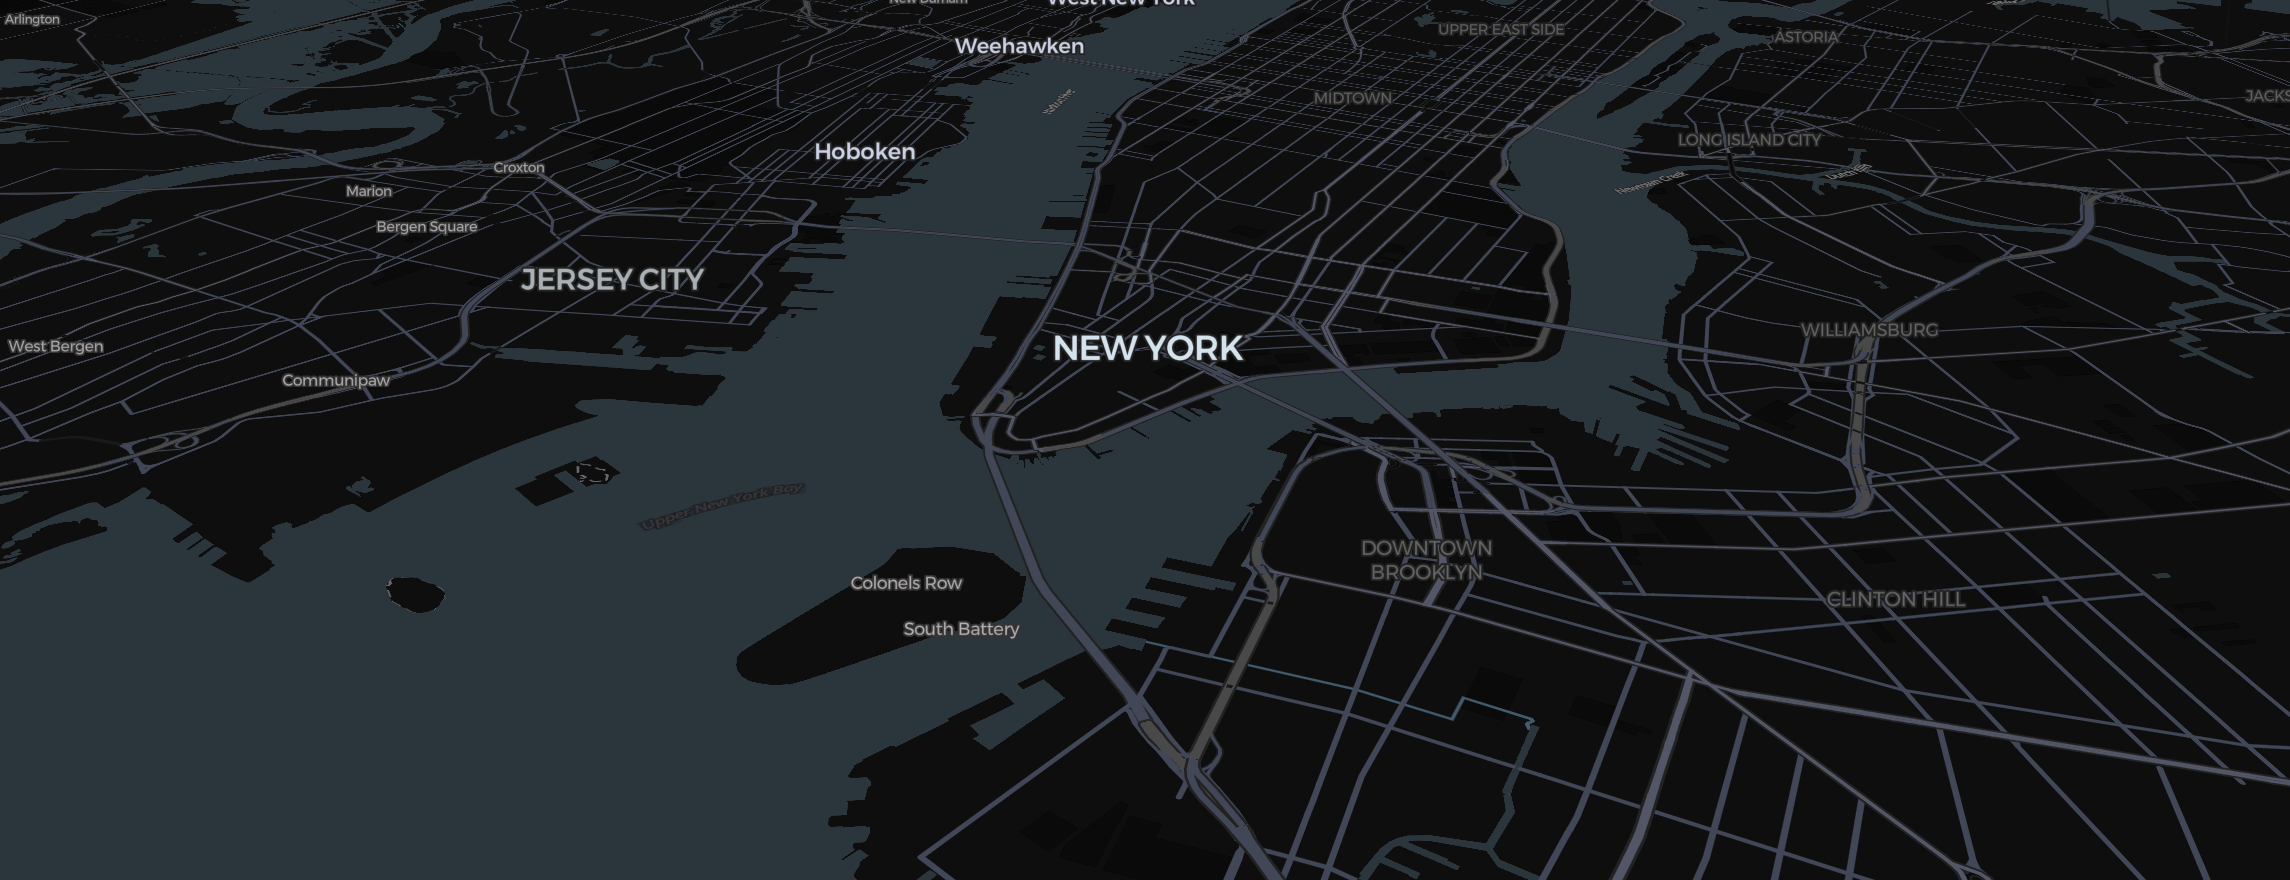
The "GTA Map" style is one of the most requested aesthetics in our community. Characterized by a top-down perspective, high-contrast colors, and a glowing route that "paints" across the screen, it’s a perfect way to introduce a new location in your YouTube videos or Instagram Reels.
Setting the Stage: The Black-and-White Base
To get the look exactly right, you need the right map style.
- Hover the map style tile in the bottom-left corner to open the map controls.
- Under Map Type, select Dark. This gives you that high-contrast, technical background that makes your data pop.
- Under View, choose Flat. While the Globe is great for cinematic flights, the GTA switch works best on a flat, top-down plane.
Drawing the Glow
The secret to the GTA look is the route.
- Click Route in the toolbar.
- In the element panel (Style tab), set the line color to a vibrant white or neon blue.
- Keep the line solid, or use a dashed line on a shape for a technical look. You can also highlight the destination country with the Region tool (how it works).
The Camera Switch
The camera should start high, zoom in rapidly, and "land" on your target coordinates.
- Slide 1: High zoom, centric on your starting city.
- Slide 2: Close-up, tilted view of the destination.
- Set the Easing to Late Brake. This ensures the camera moves fast across the map but slows down with a cinematic glide as it reaches the destination.
Ready to export? Make sure to check our guide on Why Mapimator Exports Look Professional to ensure your final MP4 is crisp and professional.