
January 21, 2026 · 1 min read
How to Create Vertical Reels for Travel TikTok
Everything you need to know about exporting 9:16 vertical map videos that grab attention.
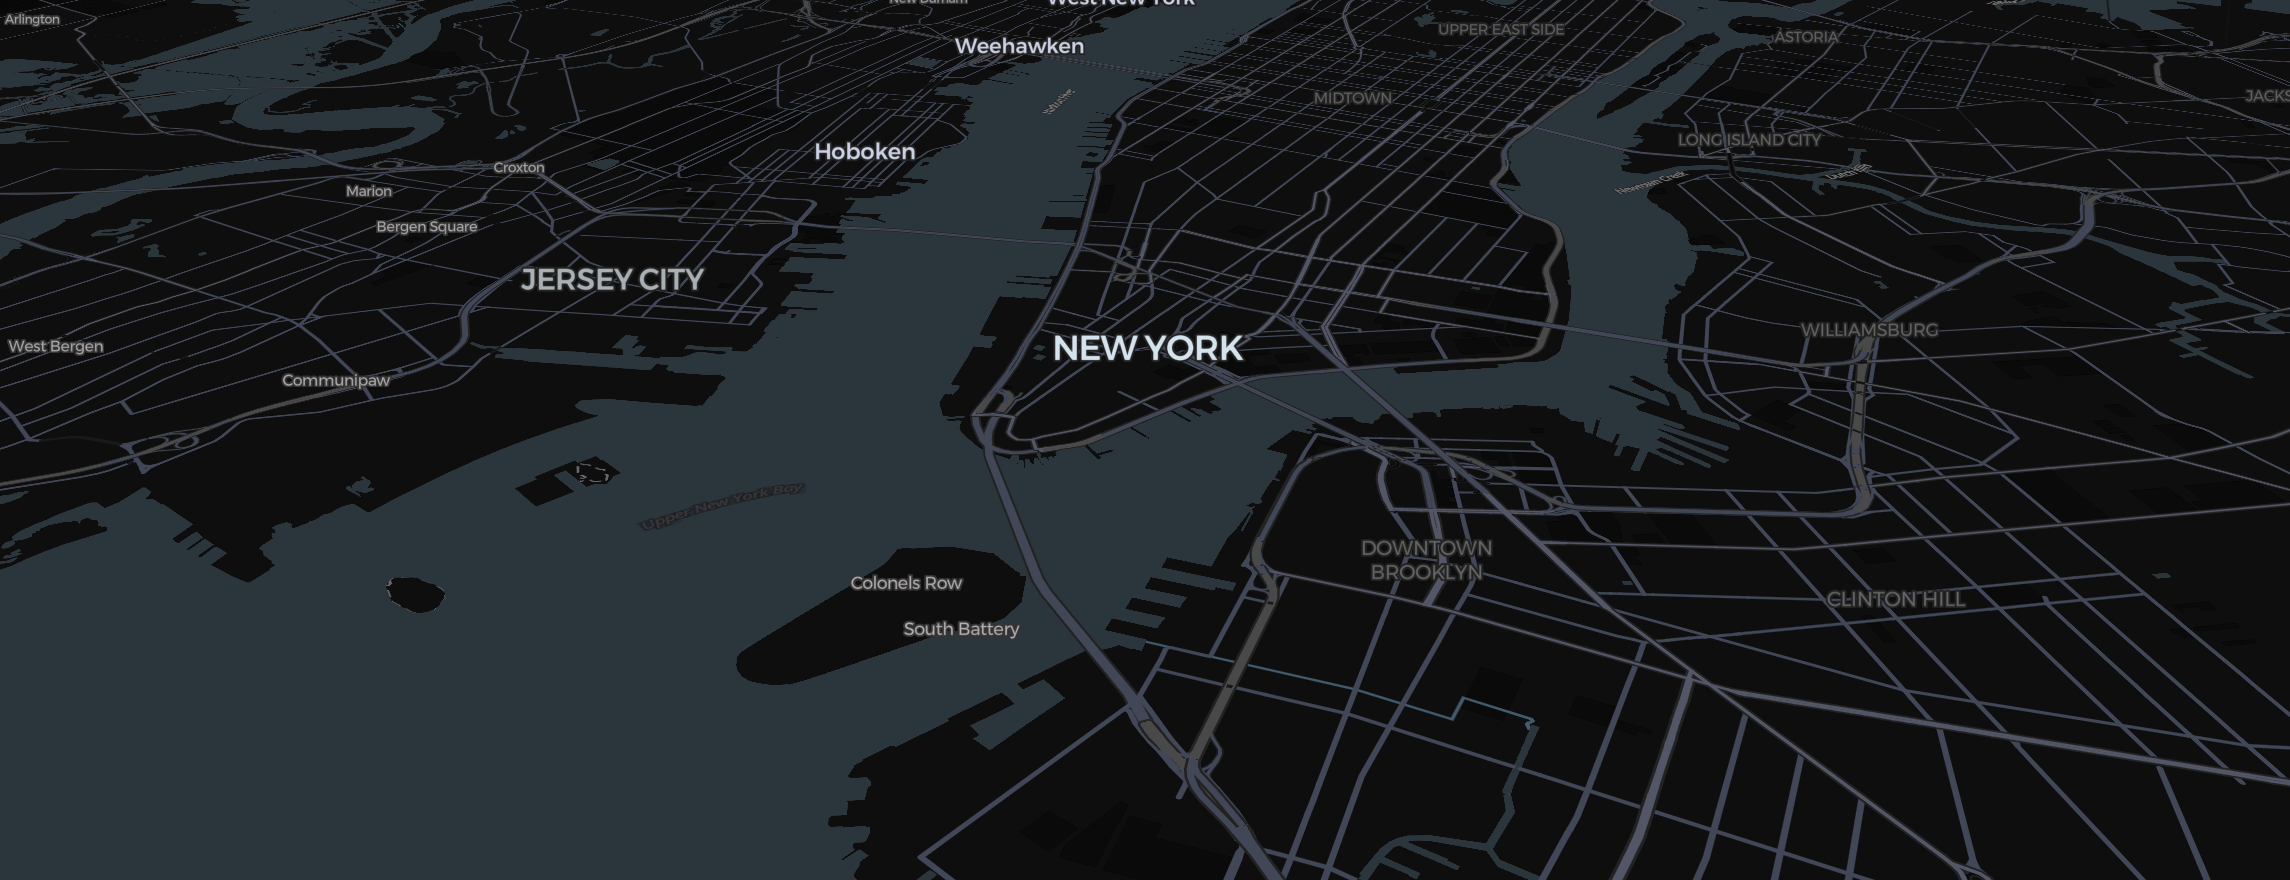
Most people watch travel content on their phones, which means the Vertical 9:16 format is the new gold standard. Converting a cinematic landscape map into a vertical one requires a few tactical adjustments in the Studio.
Step 1: Switch the Canvas
Before you start placing pins, switch the storyboard bar to Mobile (9:16). This changes your preview frame immediately so you can see exactly what will be in the final frame. You can also pick the aspect ratio in the export dialog.
Step 2: The Vertical Zoom
The vertical format is narrower, which means things look "closer" at the same zoom level.
- When creating cinematic flights, you’ll need to zoom out a bit more than you would for a TV screen.
- Ensure your GTA-style routes aren't cutting off the edges of the screen.
Step 3: Top-to-Bottom Storytelling
Vertical video naturally favors movements that go up or down.
- Intro: Start at the very top of the world (North Pole) and zoom down to your location.
- Overlays: Place your text elements in the upper or lower third. The center is usually reserved for your Pins and Routes.
Step 4: Exporting for TikTok
TikTok and Reels compression is heavy.
- Always export at 30 FPS. While Pro supports 60 (free exports are always 30 FPS), the extra data often causes TikTok to compress your video more aggressively, which can lead to blurriness.
- Let the export's prewarming step finish so the 3D details of the buildings look "real" even on a tiny phone screen.
Ready to post? Check out our guide on Travel Vlog Hacks to learn more about the perfect camera easing for mobile viewing!