
December 28, 2025 · 1 min read
The Real Estate Pro's Guide to Aerial Tours
Showcase your listings by jumping between properties with smooth, high-resolution aerial mapping.
By Mapimator Editorial#Business#Real-Estate#Marketing
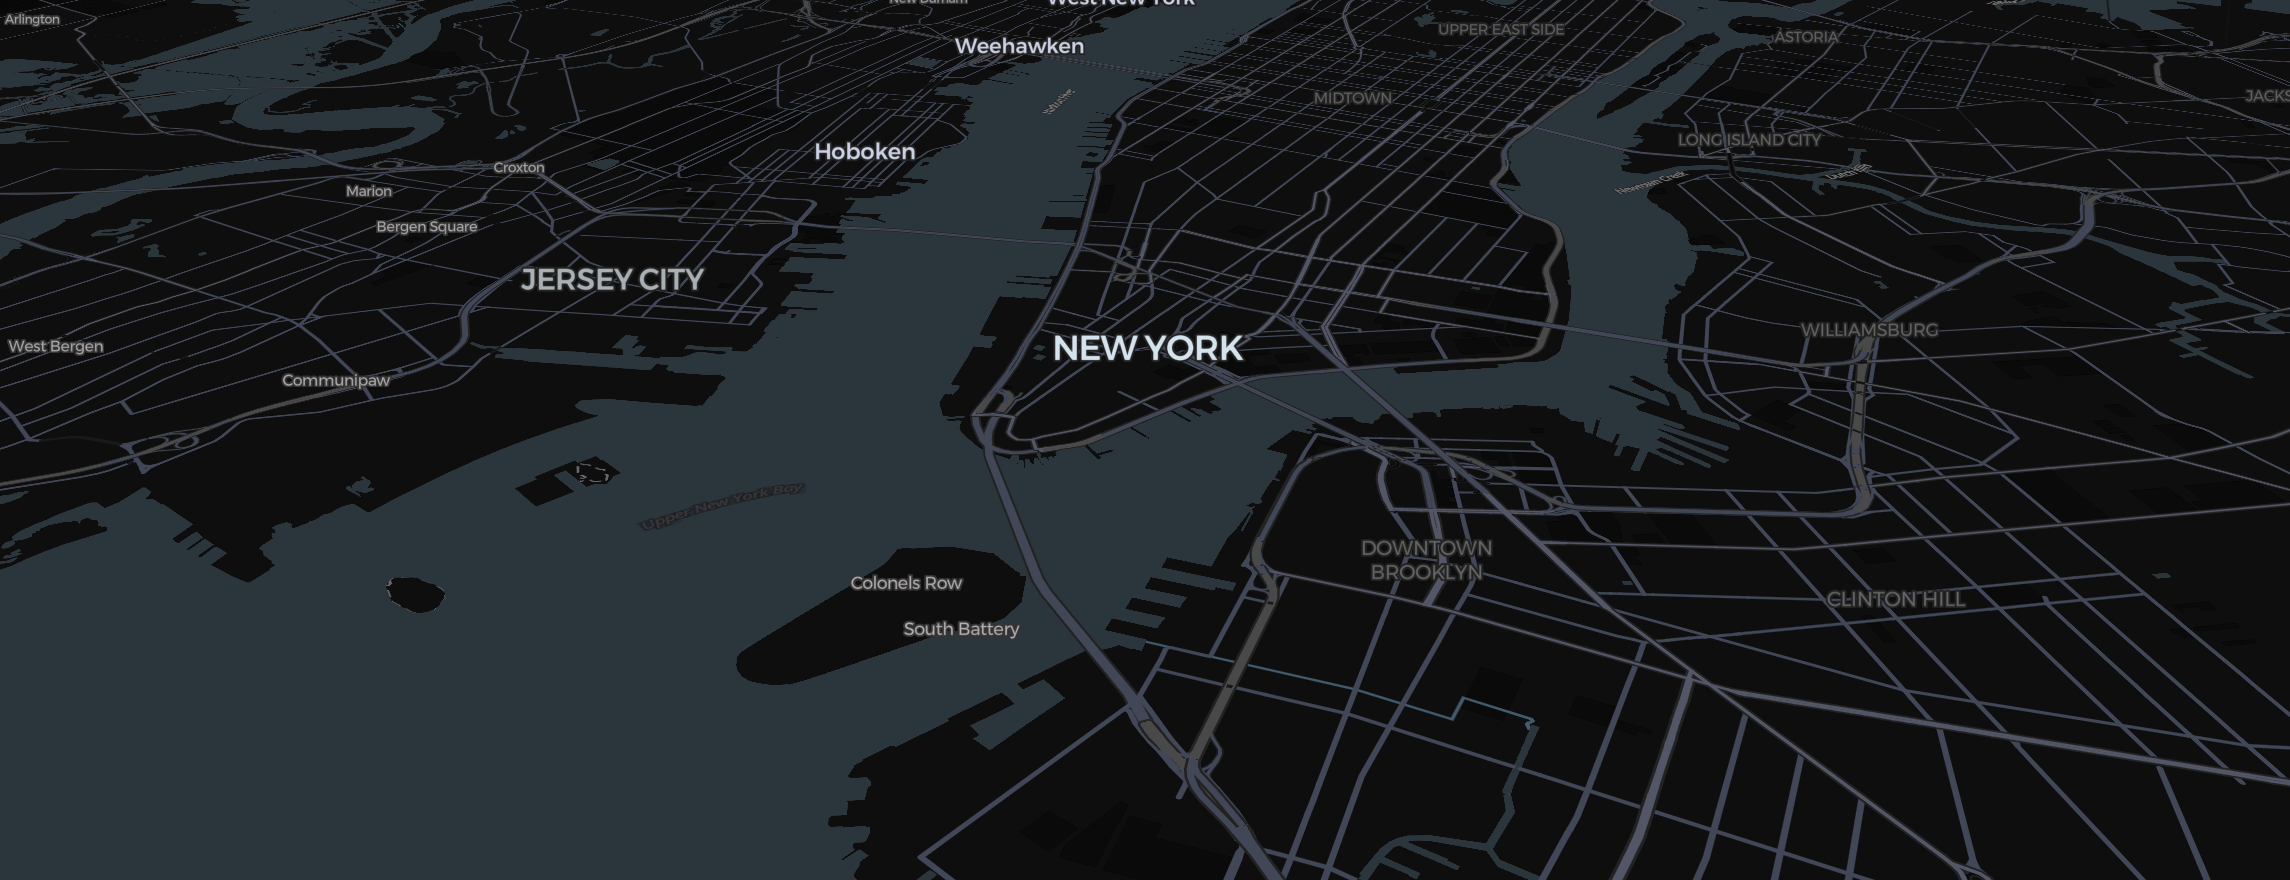
A photo of a house is common. A 3D aerial video showing the house in the context of its neighborhood, its proximity to downtown, and its connection to the city's parks? That’s premium.
Highlighting the Portfolio
For real estate firms with multiple listings, the Region tool is a game-changer.
- Zoom into the specific neighborhood.
- Search each address to add a slide and a pin, or place a Pin by hand.
- Set the pin to the Bubble style so you can include the listing price or property name directly on the map.
The Aerial "Jump"
Create a slide for each property.
- Set the transition time to 2.0s.
- Use Smooth Easing to make the camera "glide" from one house to the next.
- For a dramatic intro, start with a wide zoom showing the whole city, then zoom in sharply to the first property.
Quality Matters: Exporting for Clients
When presenting to luxury clients, blurriness isn't an option.
- FPS: On Pro, export at 60 FPS (and up to 4K) for that buttery-smooth, television-quality look. Free exports are 480p at 30 FPS with a small watermark.
- Rendering Preparation: Before your final render, let the Studio finish its rendering preparation. This ensures that every high-res building and tree is perfectly rendered in the final MP4.
If you have brand assets, don't forget you can use the Image tool to place your agency's logo right in the corner of the 3D map!