
January 24, 2026 · 1 min read
How to Animate Ship Wake and Ocean Paths
Techniques for creating realistic aquatic route animations for sailing vlogs and logistics.
By Mapimator Editorial#Maritime#Tutorial#Sailing
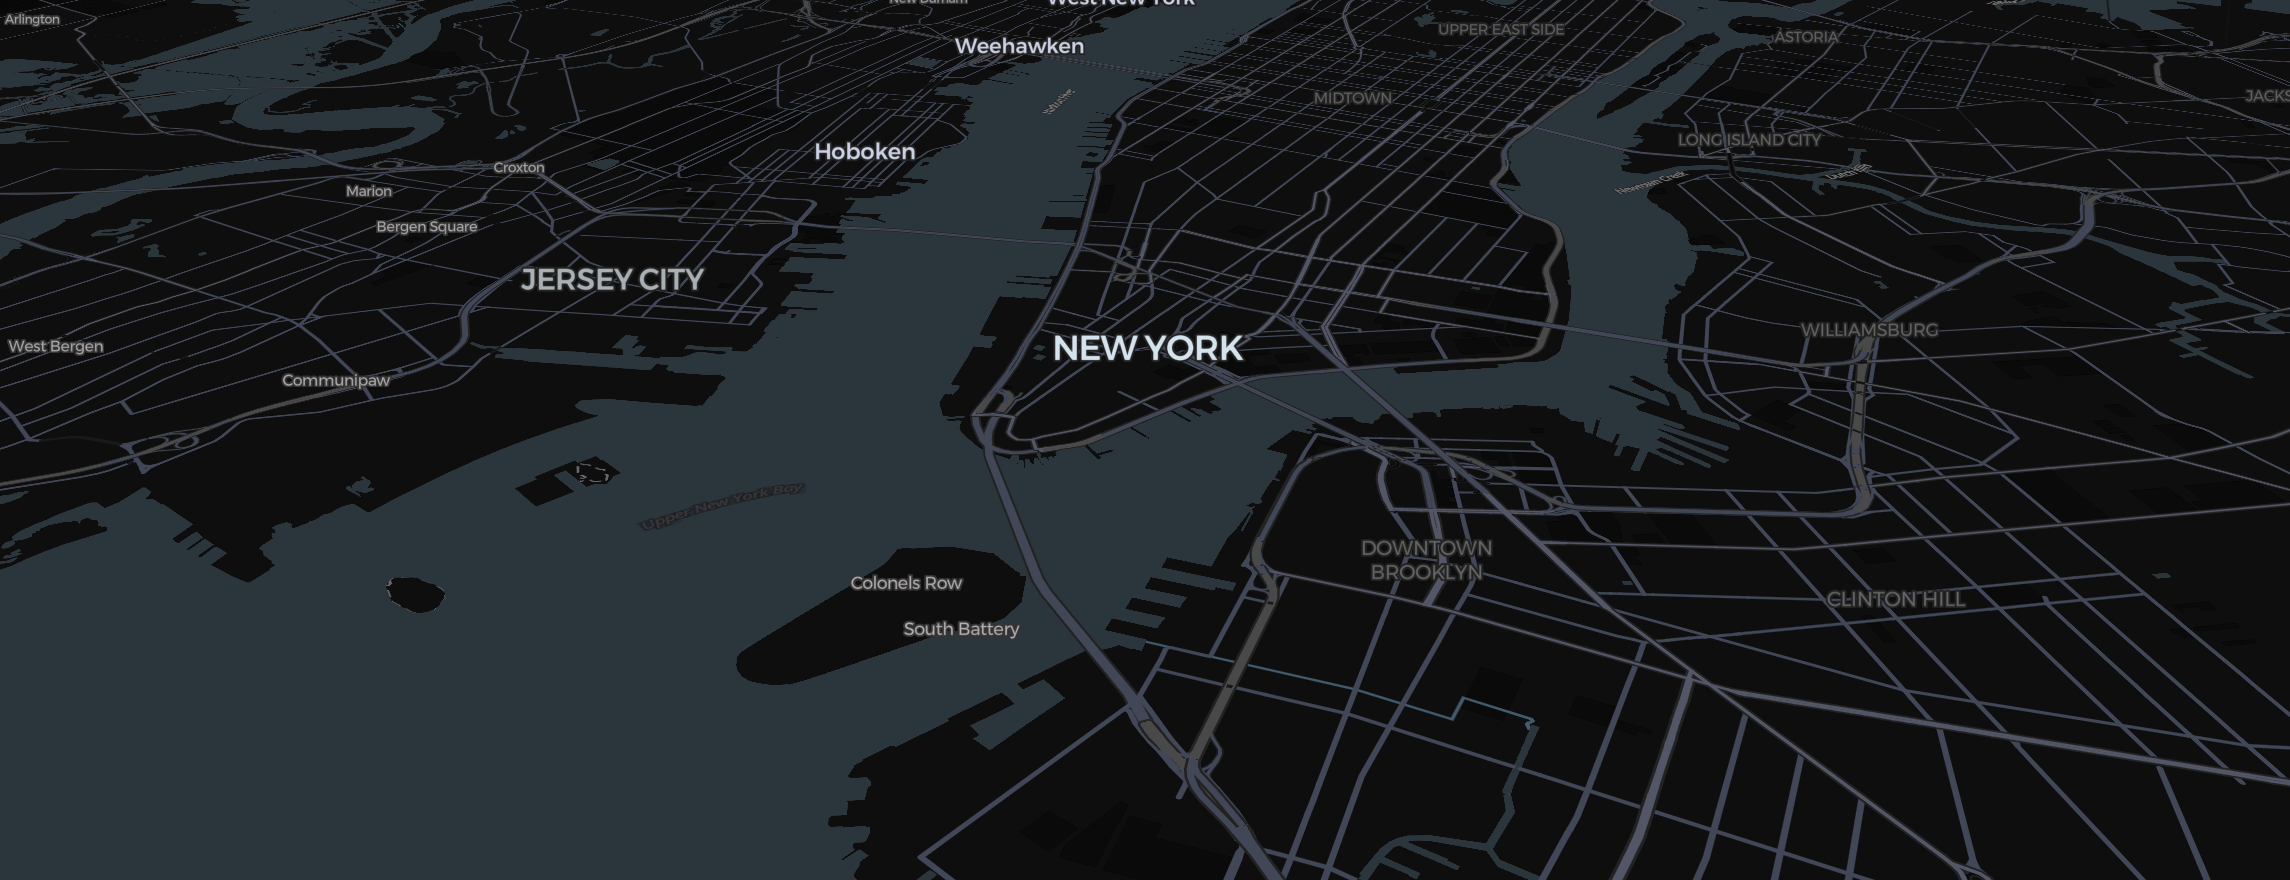
Sailing and shipping stories require a different approach to route animation than road trips or flights. In the Mapimator Studio, we use the Draw animation on manual paths to simulate a ships' movement through the water.
Drawing the Aquatic Route
Unlike the road snapping used in driving routes, maritime paths need manual placement.
- Click Route in the toolbar and set the transport mode to Direct.
- Place waypoints that follow natural shipping lanes or avoid coastlines.
- For island navigation, use many small waypoints to creates a smooth, curved path around landmasses.
Creating the "Wake" Effect
The route line isn't just a static graphic.
- Set the Animation Type to Draw.
- Increase the animation duration (Timing tab) to match the camera transition. This creates the illusion of the ship "unveiling" its path as it moves.
- Switch on a dashed line if you want to simulate a GPS breadcrumb trail.
Choosing the Best Water Texture
Water looks best in the Satellite map type.
- Pitch the camera (Right Click + Drag) to see the sunlight reflect off the ocean surface.
- Use the Labels switches in the map controls to turn off land-based labels, keeping the focus on the vast blue expanse.
Always let the export's map prewarming step finish before exporting to ensure that the ocean tiles are fully cached, avoiding any "blue-to-gray" flickering in your final high-def maritime story.